
Filters
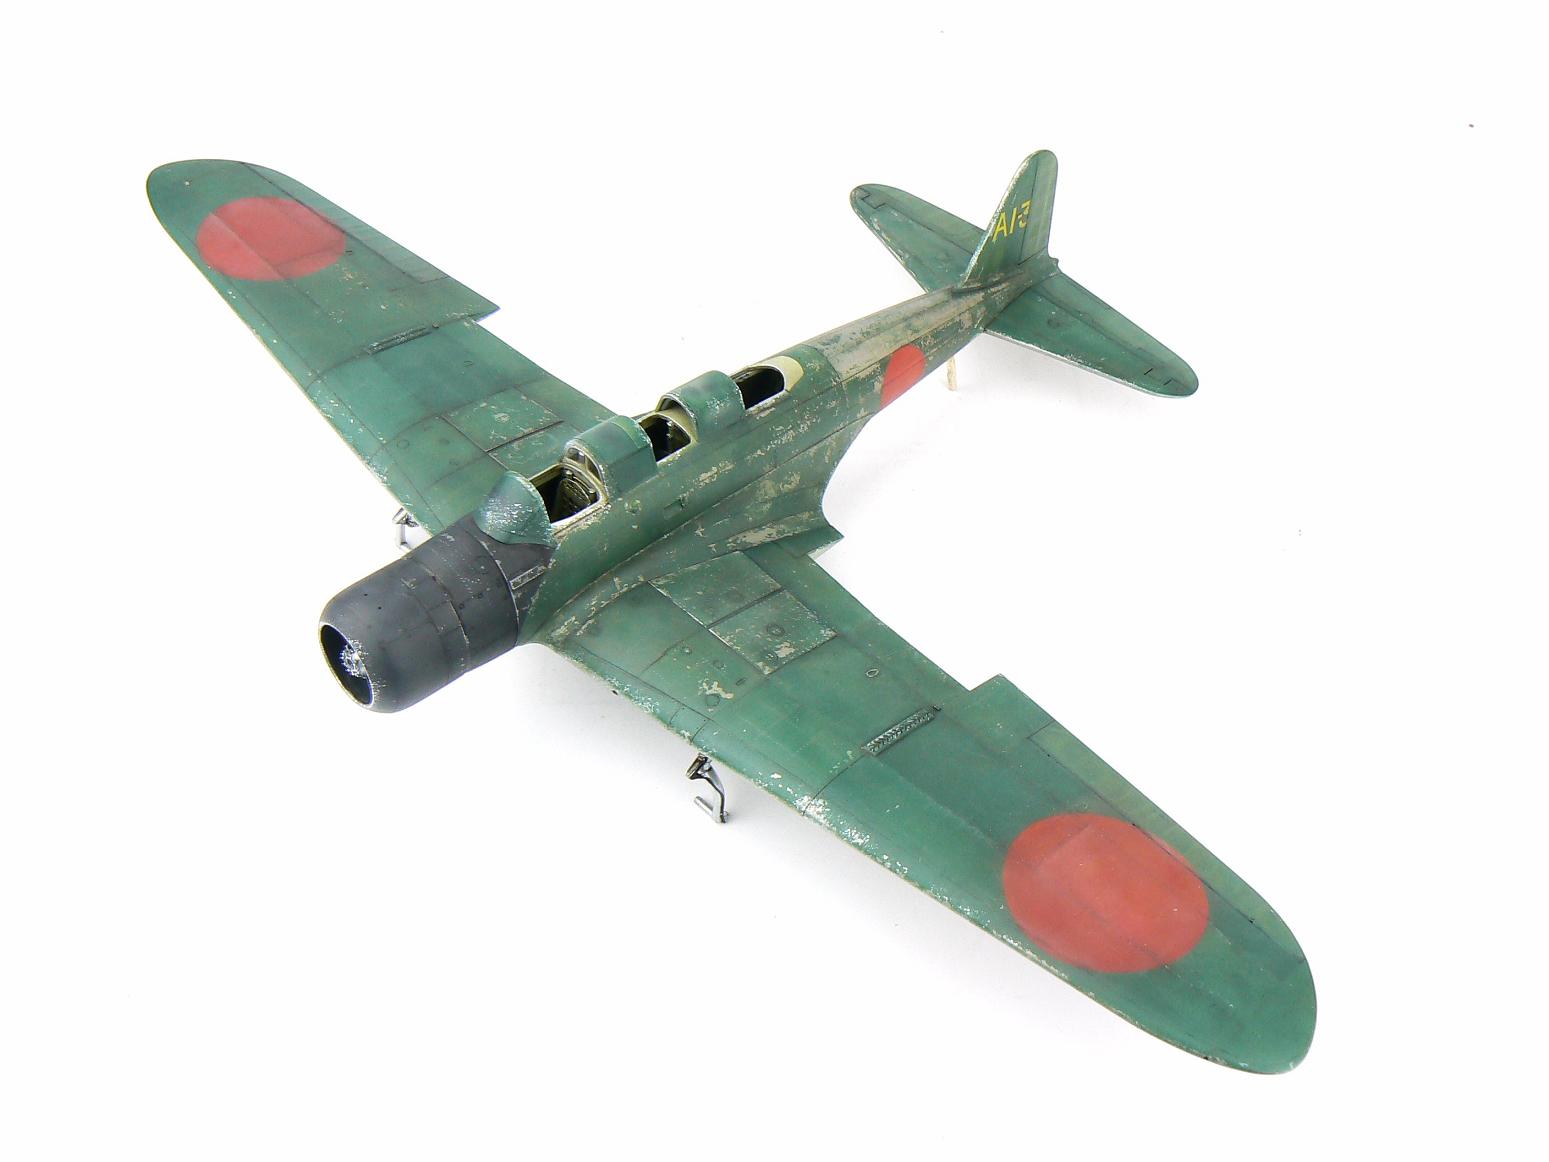
Before the oils I tend to apply a
filter. A filter is a very very thin
wash over the entire surface; its job is to bring all the colours together and
get a nice grimy finish. For this model
I used AK Interactive Winter Streaking Grime which is a grey green tone which
works well. Sorry for the lack of
photos, when my battery is getting low it doesn’t save the images. Here is an image from a Gekko I made a few
months ago.

Prep
The first stage of the weathering is
working with oil paints. I prefer
weathering with oils as I find the blended effects are very realistic and much
easier to control than say using pre shading.
My favourite oil paints I like to use are from Abteilung, they seem to
contain less linseed oil which makes them faster drying and more matt in
appearance although sometimes I will mist on some matt varnish on
occasion. Usually I won’t bother though
as the oils leave the surface with a nice realistic smooth metal effect.
I tend to put a small blob of the oil
paint onto a piece of scrap card, this will draw out the linseed oil making
them dry even faster and be more matt. I
say even faster but it will still be a day or two before you can use thinners
over the top with confidence hence sometimes I will mist over some acrylic
matt.
You will need a selection of brushes,
some white spirit (in this case AK Interactive) and some kitchen roll to wipe
the brushes on.

Upper surfaces
The first stage is to dampen the
surface with white spirit, this is important on a matt finish otherwise the oil
paint can stain the surface which is not what we want.

Next we take a small brush and place
tiny dots of the oil paint onto the surface.
First up I like to do the fading effect so white, buff and yellow are
used. Yellow over a green base is nice because
it makes the colour warmer, white alone can result in a chalky finish. Bright green is also useful in creating
chromatic richness.

Taking a damp (ever so slightly damp)
flat brush we slowly work the oils into the surface. Try not to mix the paint as otherwise we’ll
get a filter effect; we just want it very localised in order to get a gently marbled
finish.

To finish we take a large soft dry
brush and finish off the blending.

Next up it’s the low lights. Shadow Brown and Cobalt Blue are used here,
note the areas where the oil paint is places, along raised detail in shadow
areas and along panel lines. This effect
will enhance contrast by creating false shadow, also it adds to the grime.

Again the oil paint is blended, first
with a slightly damp flat brush and then a dry round brush.

Here is the finished effect on the
centre panels. Note it’s very subtle but
that is exactly what we’re after.

When you’re using this effect try and
use a bit of thought to how the real aeroplane may have weathered. Here I am using a heavy effect of lightening
the 2 outer panels but I painted the centre panel in a darker tone to simulate
a new panel hence the fewer dots here.

The Hinomaru doesn’t escape. Red and Mid Rust are also used. Note how the paint has been applied along the
surface detail, this will help to distinguish panels and create a more
interesting surface for the eye to look at.


Again oils are used to create
highlights and shadow to pop out the surface detail, in this case the wing root
fairing.

Here is the finished top surface. The effect is very subtle which is just what
we are trying to achieve. You’ll note
also I haven’t used a panel line wash. I
think you’ll agree that this is not really necessary as the oil fading has done
the job quite nicely. If you wanted, you
could run a very thin subtle wash in the panel lines in the grubbier areas such
as around the engine but it shouldn't really be necessary.


Oils can also be an effective way of
simulating engine oil leaks. All radial
engines leak oil, some more than others.
I couldn’t find any photos of a Kate showing the underside so I’m not
sure if there were any typical patterns so please excuse the artistic license
here.
Oil leaks
First off, the oil is drawn in thin
lines with a small brush. Try and be
inconsistent with the length and distribution of the lines.

Next, with a moist flat brush, blend
the lines. Keep going until you get the
desired finish. Don’t worry if you
remove too much, you can also go back and repeat the process.


Here is the finished underside showing
all the effects so far. Nice and grubby!


Ok, that’s it for part 6. Hopefully I’ll have part 7 up tomorrow so
stay tuned.
Man, this is some good stuff, thanks for sharing.
ReplyDeleteDan I agree.
ReplyDeleteJamie, just one question I think. When you say damp brush are you using water or something else such as the white spirit?
Hi Dan
DeleteIf you are referring to the oil weathering then it's white spirit. You need to keep the paint moving.
Hope that helps.
Jamie
Love the model so far.
ReplyDeleteDo you apply a varnish to protect the surface before you start weathering?
Not normally. The paint should be tough enough and it won't react with the white spirit. That may be different if your preferred paints are enamel based however.
ReplyDeleteHope that helps.
Jamie