Wings
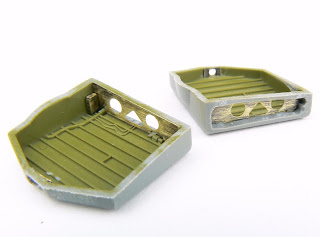
I decided to tackle the wings first but before they could be glued together the photo etch for the wheel wells needed to be added. These parts add some nice scale effects but in order for it to work properly significant amounts of plastic needs to be removed. The areas were chain drilled before the insides were hollowed out, this will keep the structure rigid and provide some gluing area. You'll note I've painted them green, that's only because I had some left over when I did the cockpit. As you can see, I later painted them silver, in this case Vallejo Model Air Steel.
In keeping with the theme, I decided to do some scratch building and damage to the fabric ailerons. As with the rudder (see part One), the plastic was thinned heavily from the inside and the structure built up from plastic strip.
The spinner has an obvious join which I wanted to remove, to be able to do this the propeller blades need to be separated from the centre part. This was done using a fine saw and then holes were drilled to take metal pins which will secure them later after painting.
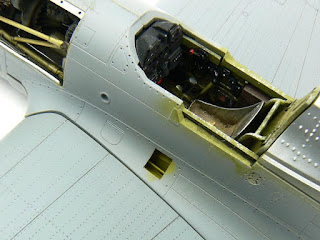
A small panel in the wing root had been opened up therefore to avoid a see through look a thin piece of plastic card was glued onto the roof of the wheel well and painted zinc chromate.
Propeller
Fuselage
The Quickboost engine will slot in nicely however before this the securing flanges were fabricated from plastic strip which was drilled out and then glued in place. Some of the fuselage was also drilled out.
Airframe
Here are the components of the airframe. These will be glued together tomorrow, there will be a few minor gaps but check out the next installment to see how good or bad it turns out.
As I just mentioned, the next installment will go through the airframe construction but also clear parts plus the Eduard photo etch flaps. So until then........


Jamie! Still a lot to do, but you're going to make something great! Keep up the good work! This is amazing!
ReplyDeleteAlex!