Thursday 11 February 2016

Dystopia Bronco Part 5: Fuselage

Finally I could close up the fuselage. The seam is long and flat, a recipe for an awkward join, that's Tamiya filler!

P1320591_zpshp5gwlup.jpg

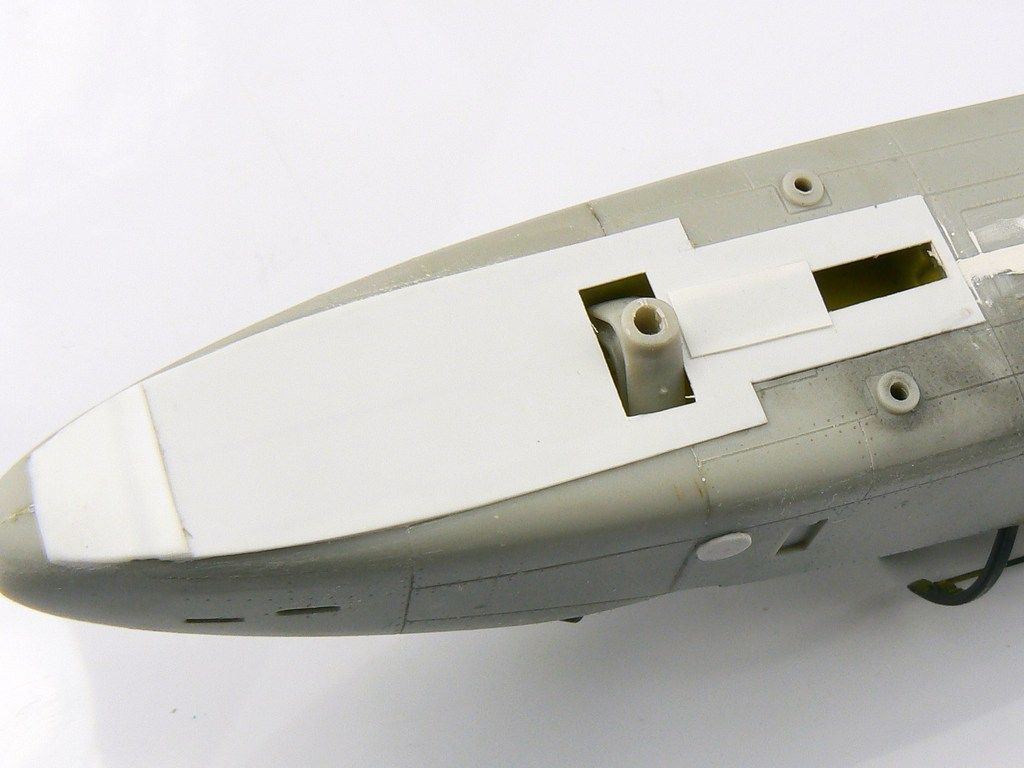
It's going to have fixed undercarriage so the nose wheel was blanked off using thin "steel" plates, simulated by plastic card.

P1320598_zpszwwttlns.jpg

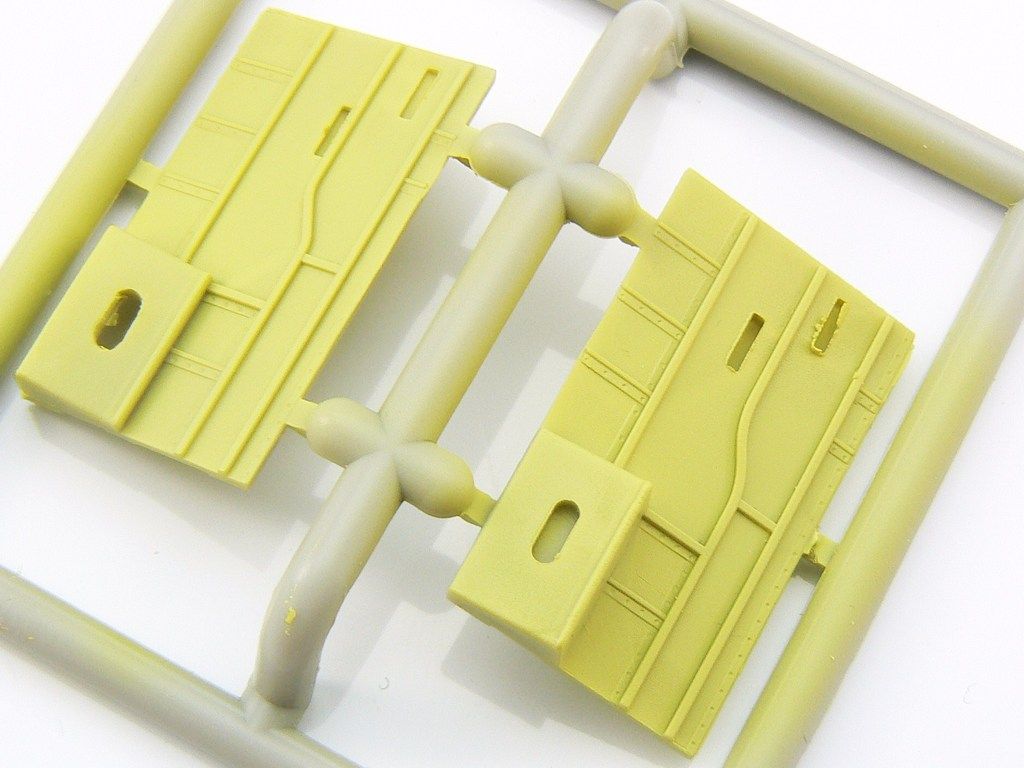
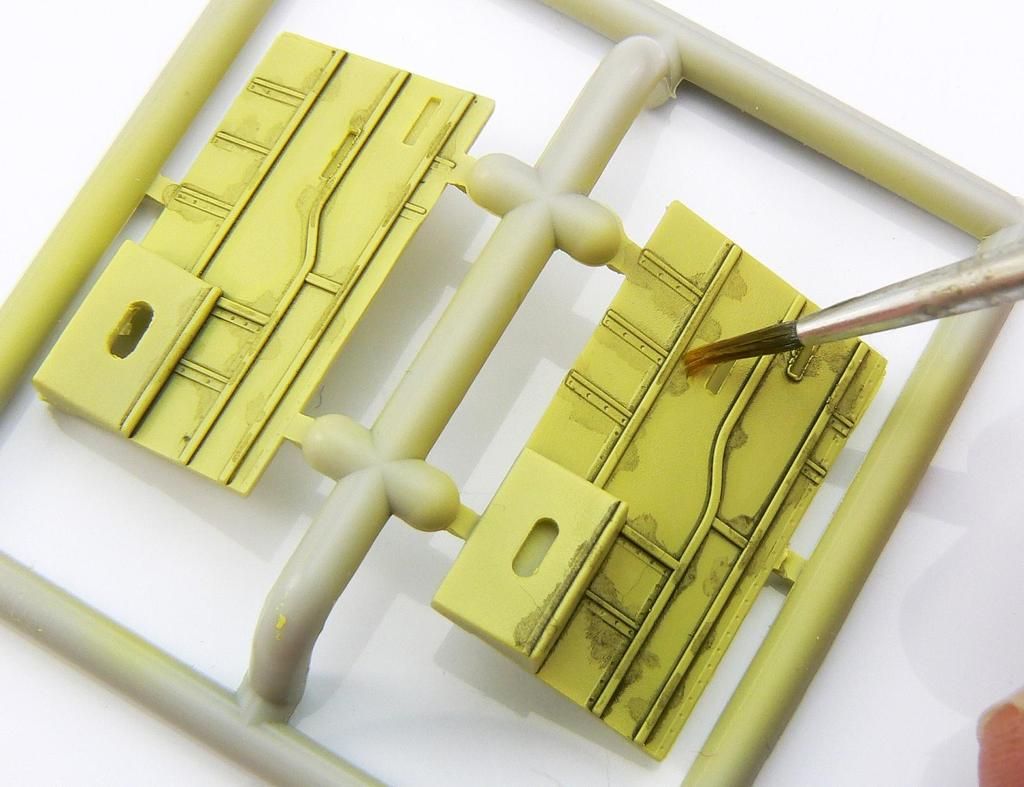
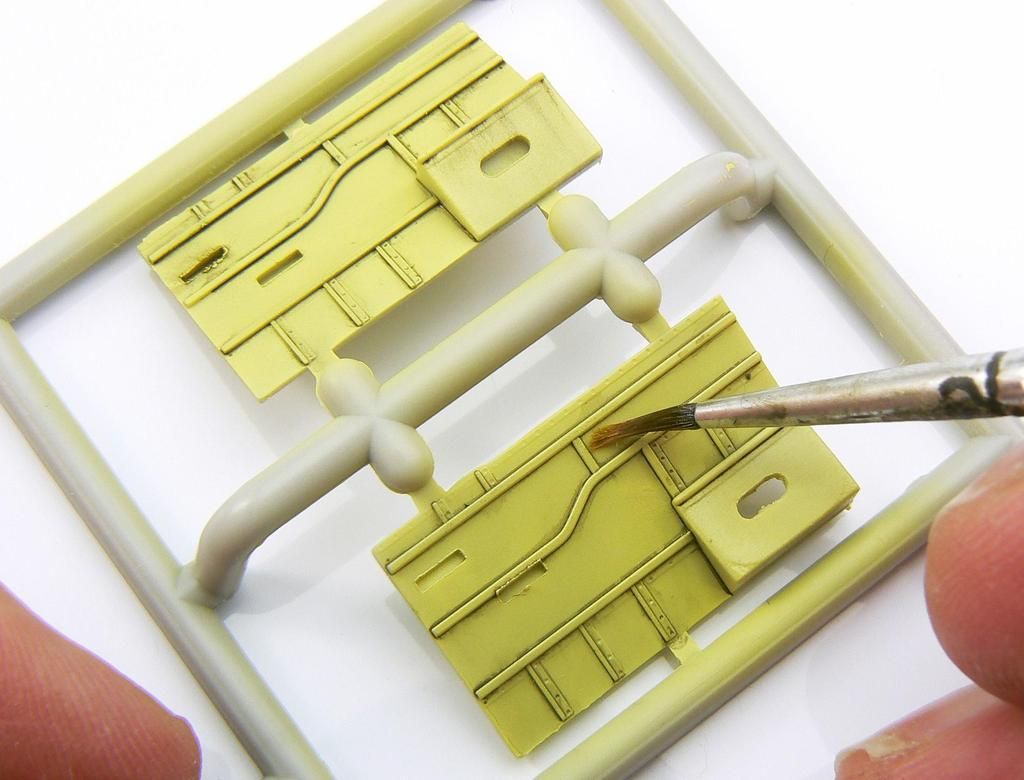
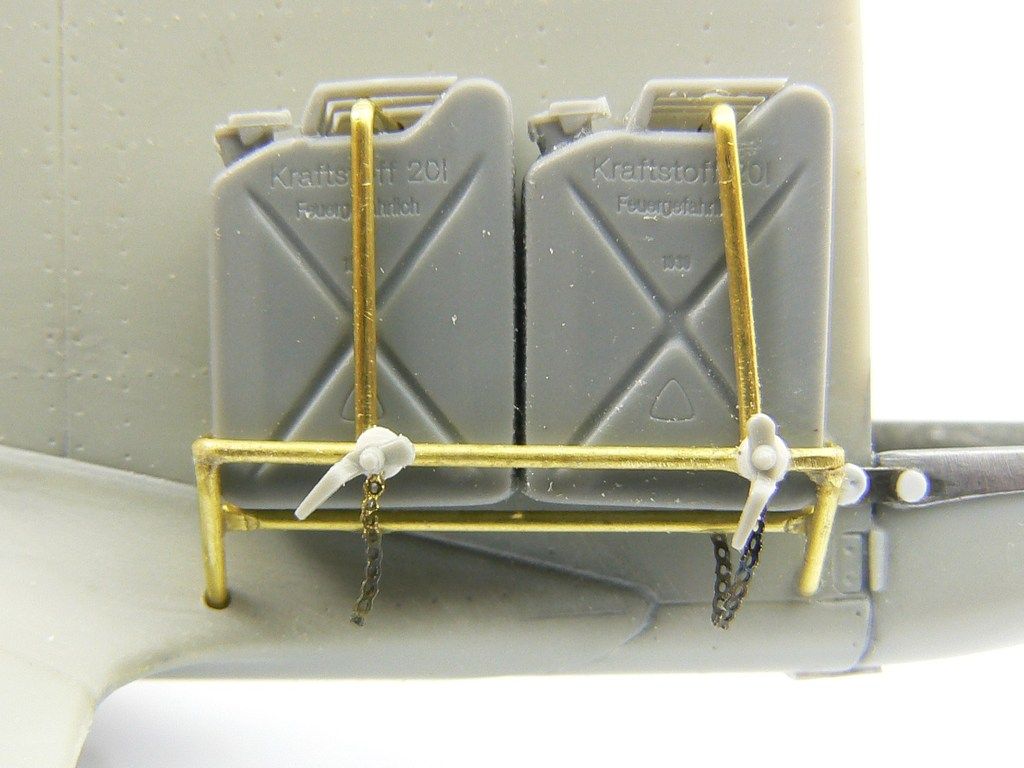
Space for smuggling as much as possible is at a premium, so a Jerry can rack was made from Albion Alloys tubing, spare bits and some photo etch.

P1320604_zpsxpzywnkc.jpg

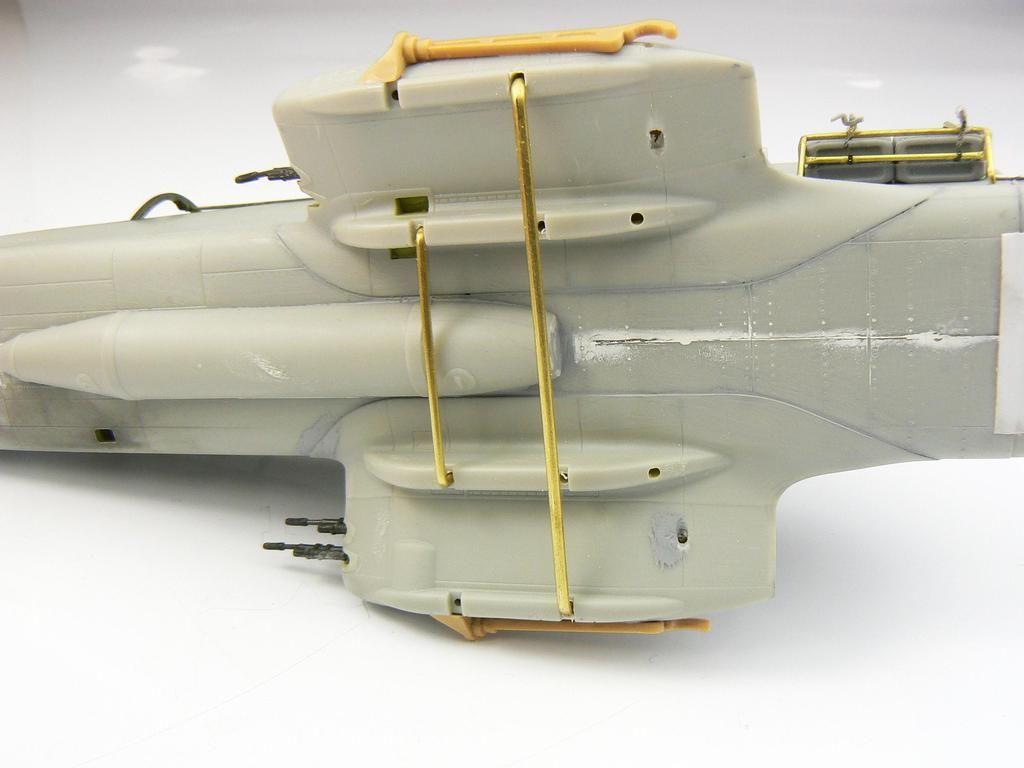
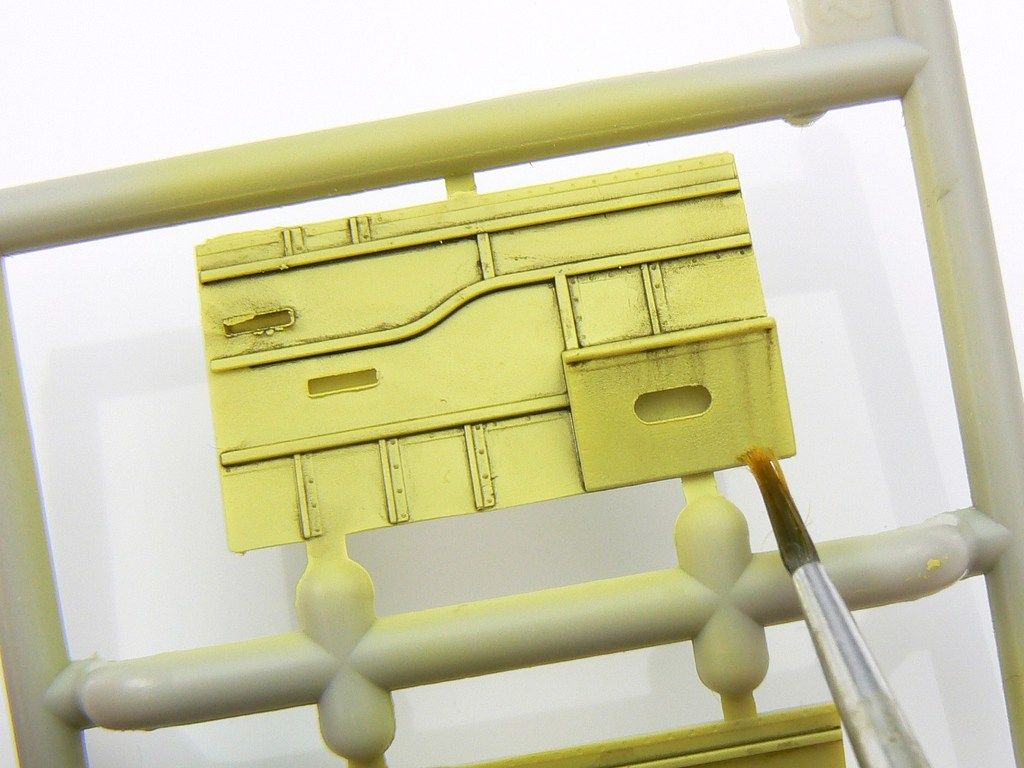
Right, lots going on here. An auxiliary ventral tank covers up the worst of that seam. This is going to be the new undercarriage mount, it's going to take a lot of pounding so needed strengthening hence the Albion Alloys tubing. Those WMIK bits on the outside are part of the suspension system.

P1320613_zpsvecjcazg.jpg

Dystopia Bronco,Part 4: Gun pods

Now for the gun pods. The structural bits were painted on the sprue with Mr. Paint's Lemon Yellow Russian primer. Look how smooth that is, it's wonderful paint, the best ever.

P1320393_zpsspbtuys0.jpg

I used Warpigs thinner for the pin wash, it's great stuff.

P1320395_zpsept1amj5.jpg

The was was cleaned up with a moist (enamel thinner) brush.

P1320397_zpsjoaasomj.jpg

In order to simulate streaking grime, the was was drawn downwards and blended.

P1320401_zpsj5kdh1mv.jpg

Who knew, dry brushing pigment over Tamiya matt black works a treat! These are the M60s which need to go in during the construction.

P1320498_zpsndyq9rl7.jpg

After the dusty pigments, Ammo of Mig's Engine Oil was thinned slightly and flicked onto the parts to look like splashes.

P1320585_zpsvavbhpoe.jpg

More oil was added near the guns themselves.

P1320588_zps4v3sqb2q.jpg