
I used Warpigs thinner for the pin wash, it's great stuff.
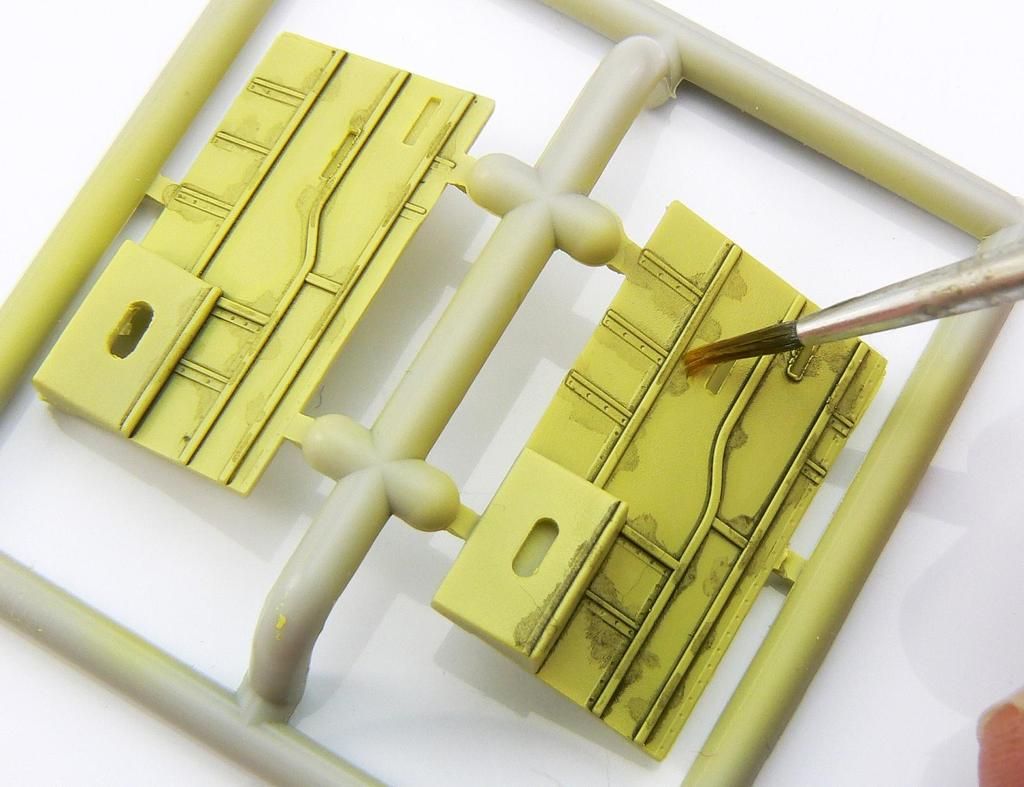
The was was cleaned up with a moist (enamel thinner) brush.
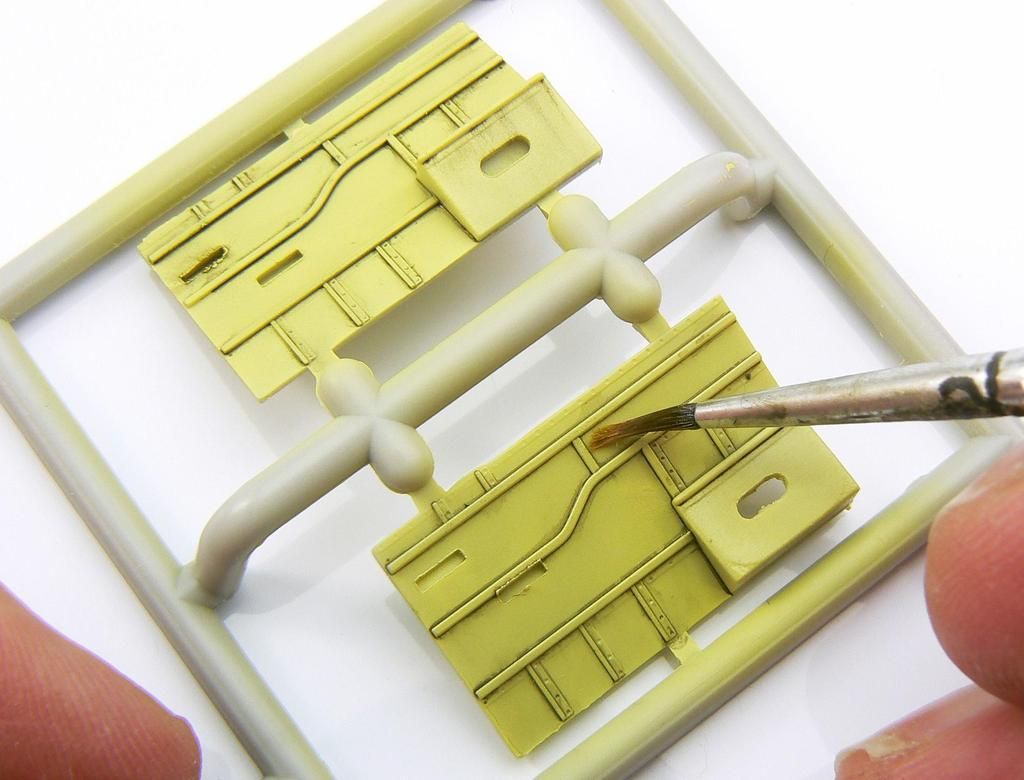
In order to simulate streaking grime, the was was drawn downwards and blended.
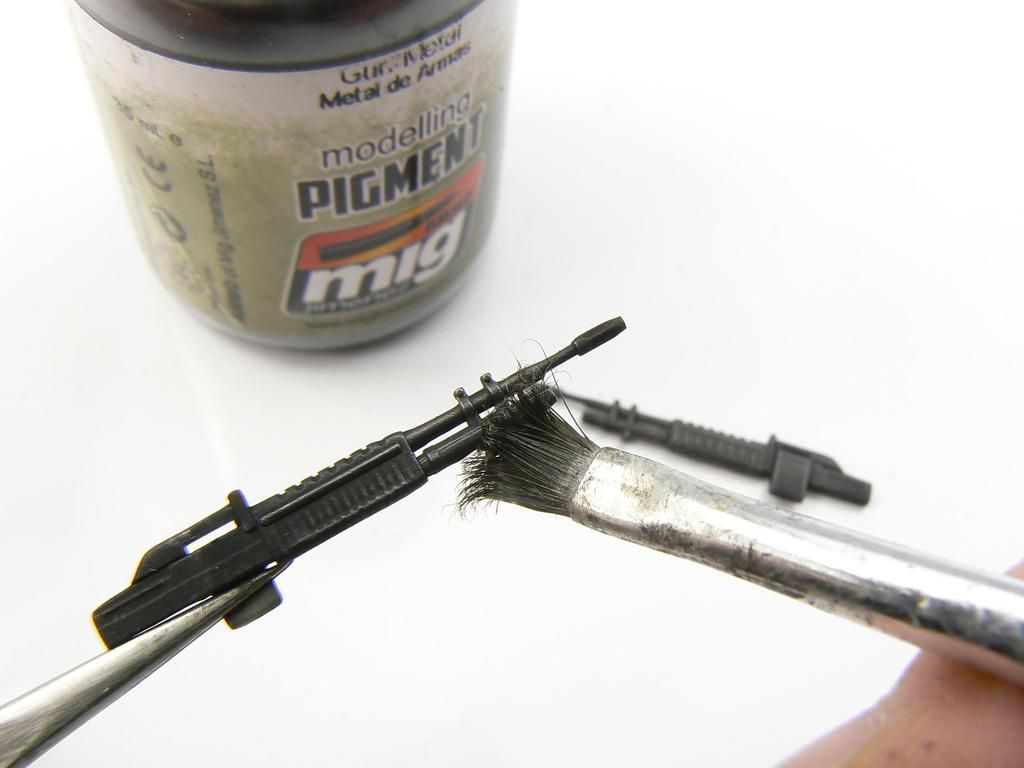
Who knew, dry brushing pigment over Tamiya matt black works a treat! These are the M60s which need to go in during the construction.
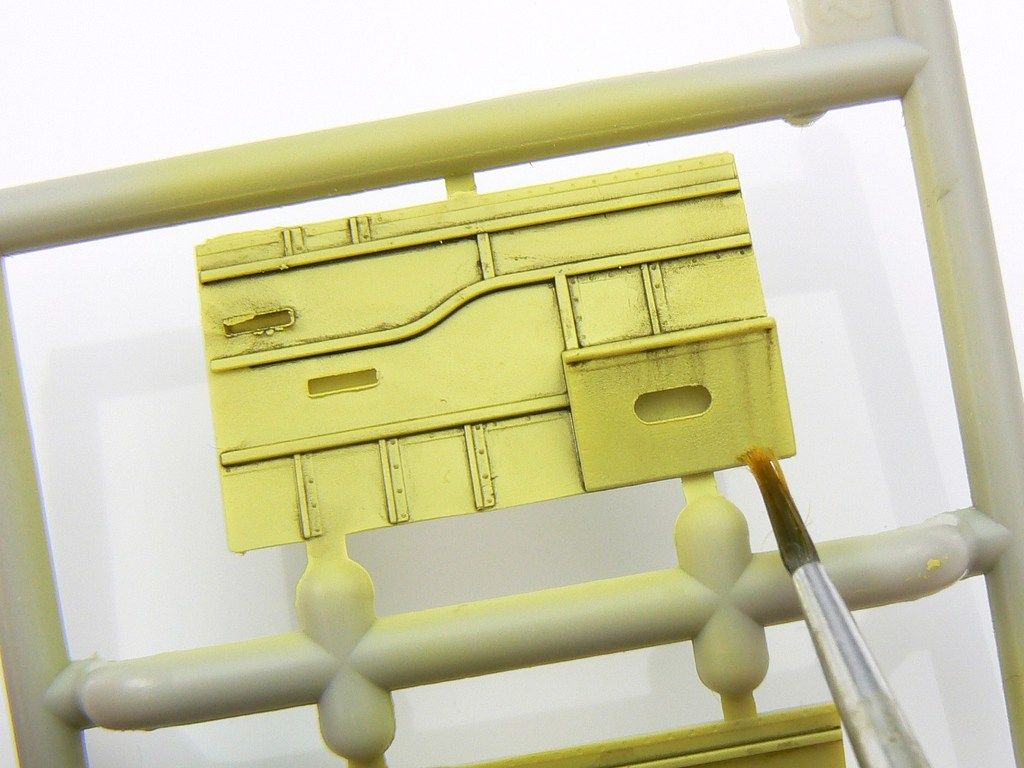
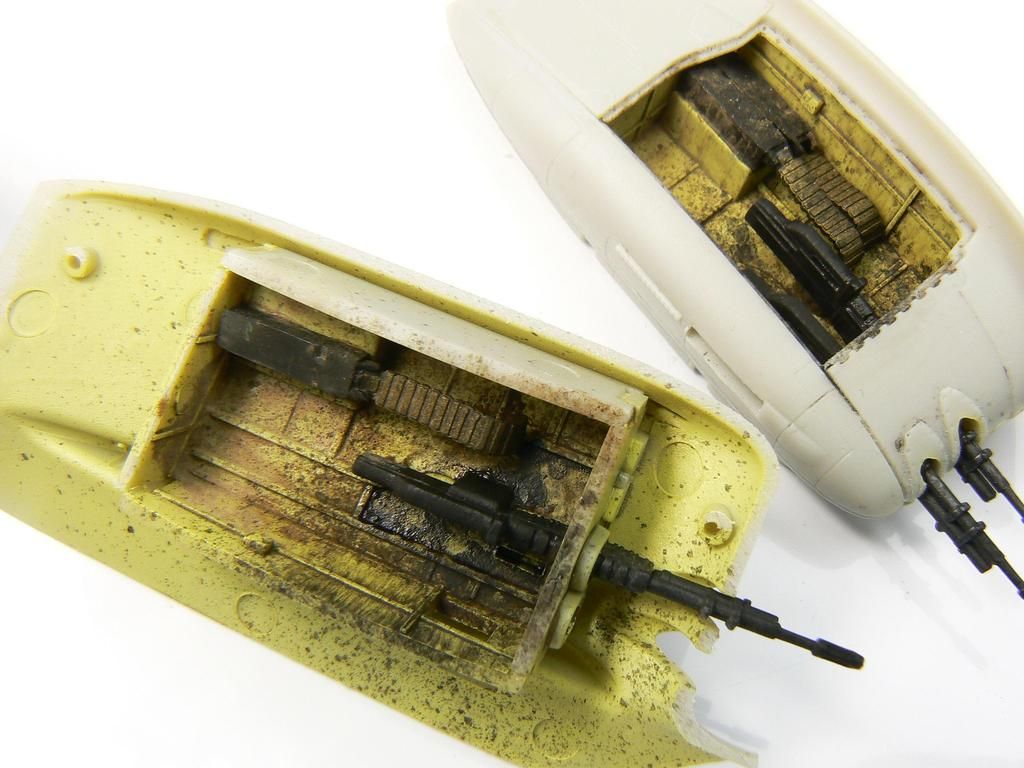
After the dusty pigments, Ammo of Mig's Engine Oil was thinned slightly and flicked onto the parts to look like splashes.
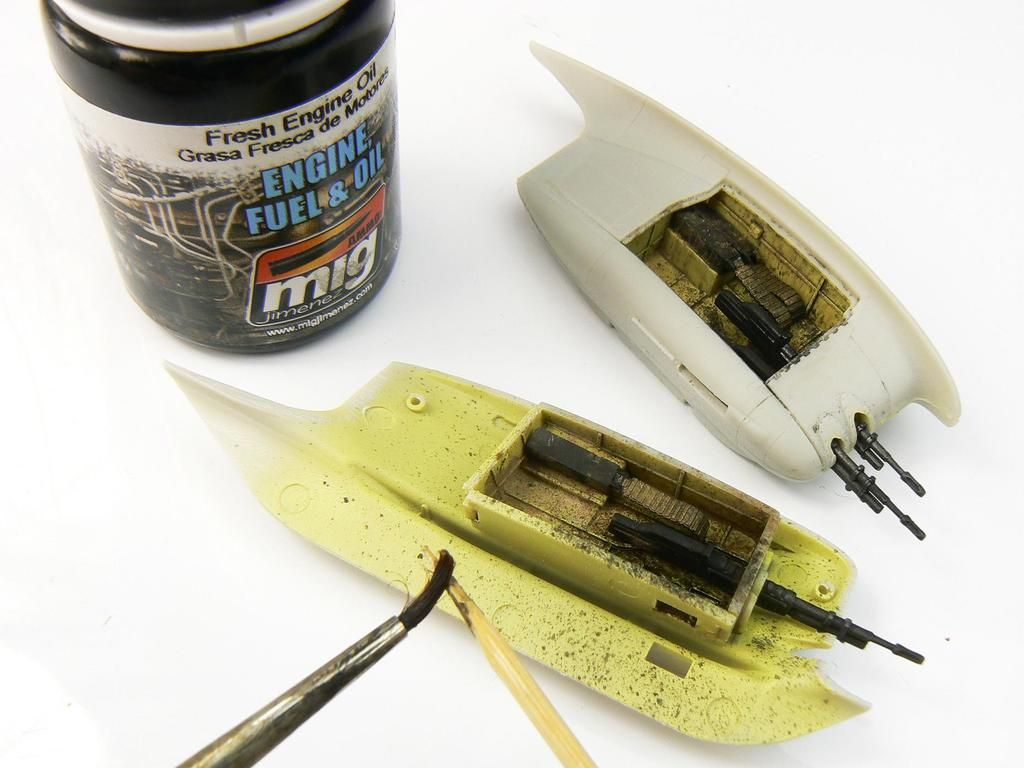
More oil was added near the guns themselves.
No comments:
Post a Comment